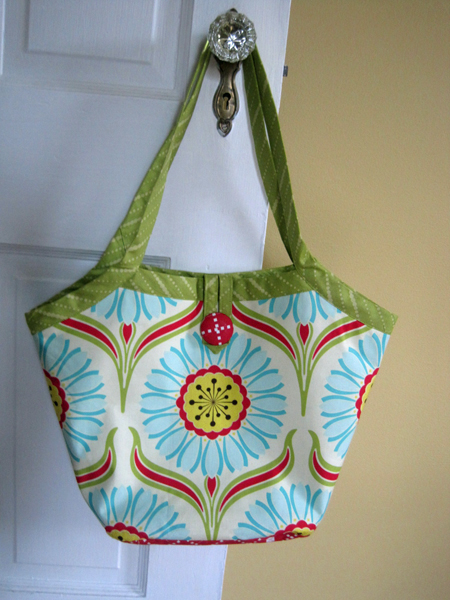
 As I mentioned in my last post, a summer bag was the third and final craft project I wanted to complete before our upcoming vacation. And here it is!
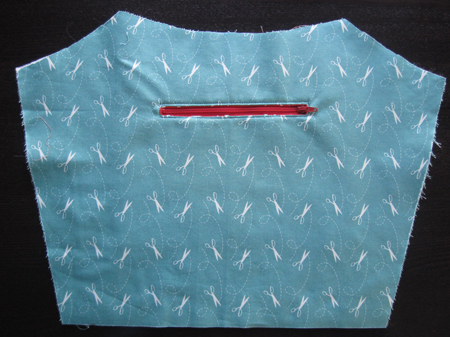
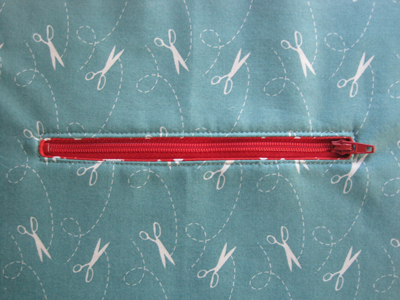
The bag pattern is from The Bag Making Bible by Lisa Lam. I chose The Reversible Bucket Tote and added some interior pockets using tutorials from the book.
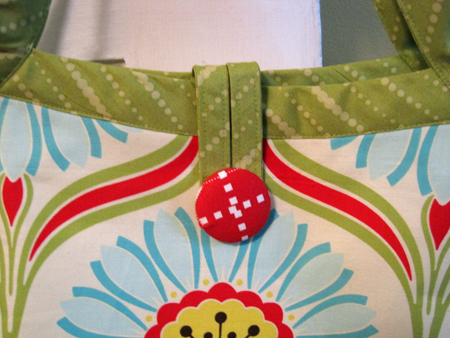
The loop for the closure is cut on the bias and sewn on before I put the binding on the bag. The button is from a kit by Dritz that I covered with the red accent fabric (from Moda). These buttons couldn’t be easier to make. The pieces truly just pop together once you have your fabric in place.
After I completed the bag, I got to worrying about the handles. The bag body is really a fairly good size. And when I have a lot of room in a bag, I tend to fill it. Because the handles, as made following the pattern, are just bias binding, I feared they wouldn’t be up to the task. So I ended up unsewing the seam in both handles and inserting two pieces of 1-inch wide fusible interfacing into each.
I was trying to avoid unsewing the entire handle, so I shoved the interfacing as far as I could into the part of the strap that was sewn to the bag. If you’re thinking about making this bag, consider interfacing at least the handle parts of the two 34 x 4-inch strips. If you put the interfacing on the entire length of the strips, you’ll lose the bias stretch that allows the strips to hug nicely to the curve of the bag edge. Personally, if I were to make the bag again, I’d probably interface the full length of the handle strips, sacrificing the stretch for strength.
 Finally, I am going to Scotchgard the exterior fabric with Fabric and Upholstery Protector, because it is so light in color. I haven’t used that product on any of my projects before. Fingers crossed. And I’ll let you know how the whole bag holds up next week!
In case you’re interested, the exterior fabric is a Heather Bailey for FreeSpirit; the red is Moda; the teal interior is Cosmo Cricket; the green has been lost to time (but let me know if you know).


