Medallion Charity Quilt Top

medallion_chairI spent the last weekend in October at the annual OHcraft Sew-In, held this year at General Butler State Park in Carrollton, Kentucky. OHcraft is a group of sewing enthusiasts from Ohio, as well as Northern Kentucky and other surrounding states. The sew-in was organized by the awesome Kara Sanders and included swaps, a fabric destash table, and lots and lots of time to sew.

My main objective for the weekend was to work on a medallion quilt for Project Linus. I hadn’t done a medallion quilt before, and I decided a bright child’s quilt would be the place to start.

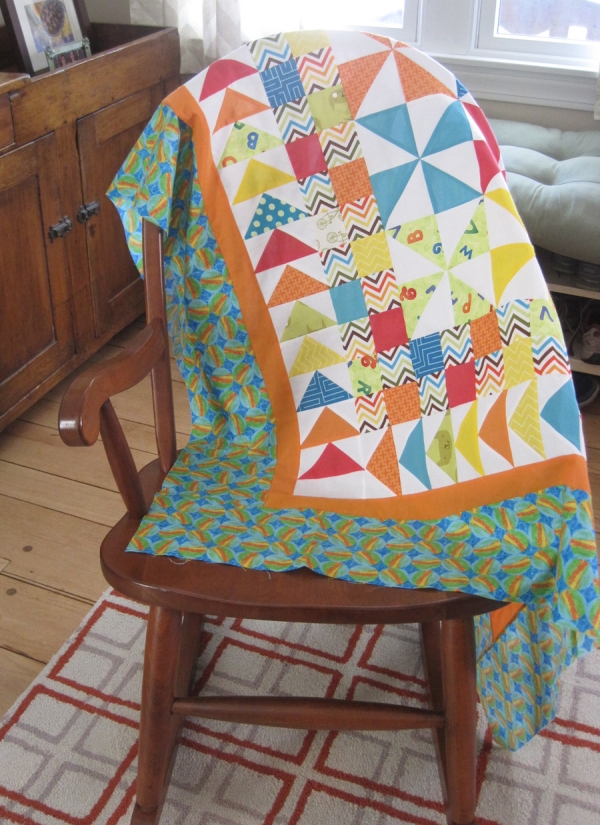
A medallion quilt is one with a central motif surrounded by borders that are either pieced or just one fabric. In the sketch that I drew, the central motif is actually several pinwheel blocks, followed by a round a four-patches, a round of flying geese, and finally, a plain fabric border.
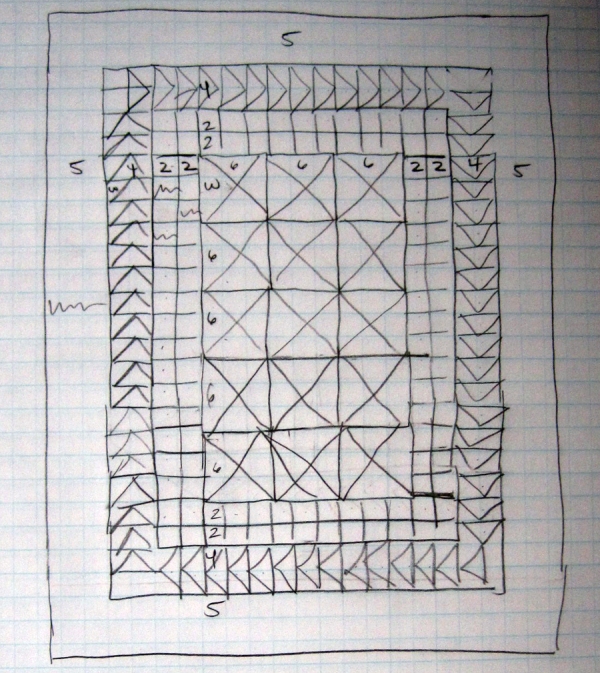
medallion_sketchBefore the sew-in, I cut the pieces for the pinwheels, four-patches, and flying geese using bright colors from my stash and a zigzag fabric I was hoping to use up. Then I got down to sewing.
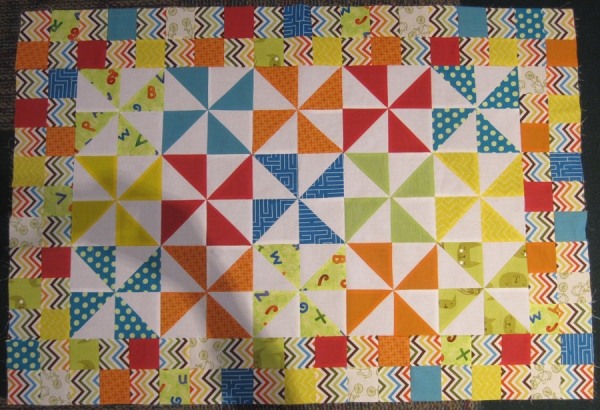
medallion_fourpatchesThe pinwheels came together easily using half-square triangles. Next, I made up the four-patches using that zigzag fabric. I grossly overestimated the number of four-patches I would need, so I had a lot of these left over. With the four-patches on, I squared up the quilt. Squaring up after each round is important to ensure the quilt maintains the intended shape. It’s easy to get those border strips out of whack.
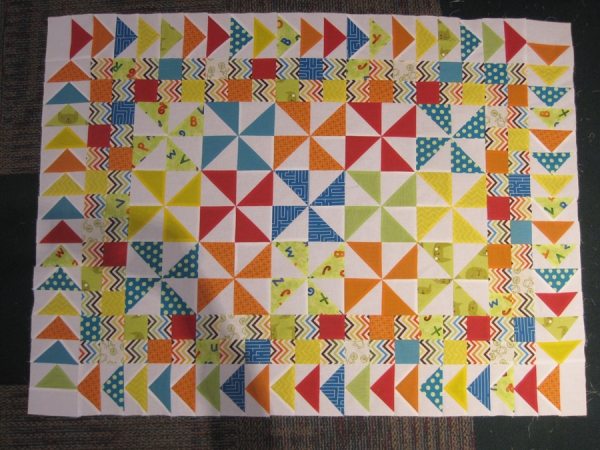
medallion_geeseThe flying geese came next. I cut my goose fabric so that I could make a majority of the geese using the no-waste method. But because that makes four geese from one fabric, I created some single geese, too, to ensure I had the fabric variety I wanted.

As I was adding the geese, I realized that my design meant that all the geese seams really needed to match up with all the four-patch seams. That turned out to be a lot of seam matching.

Somehow, getting that far took me all afternoon and evening on Friday and most of the day on Saturday. Much, much longer than I had anticipated. Plus my geese points were butchered and the whole thing was looking pretty chaotic to me. So I put that project away for the rest of the weekend and picked it up this past weekend. My plan had been to just add a border of the zigzag fabric at this point, but that wasn’t working for me. So first I added a border of orange to try to calm things down.
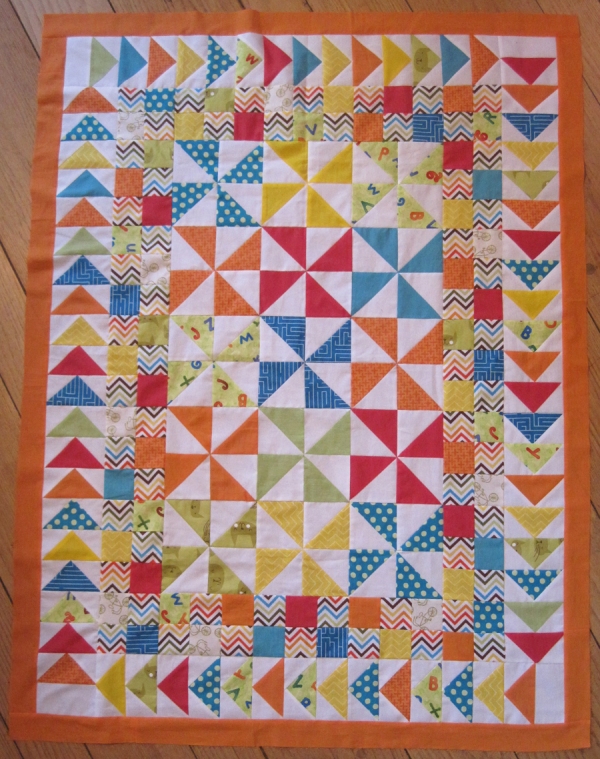
medallion_orangeborderI would have liked to stop here, but the quilt was less than 40 inches wide at this point, and I wanted it to be bigger so a child could really wrap up in it. The zigzag border still wasn’t working for me, so I dug into my stash and found a fabric that to me looks like impressionistic Teenage Mutant Ninja Turtles.
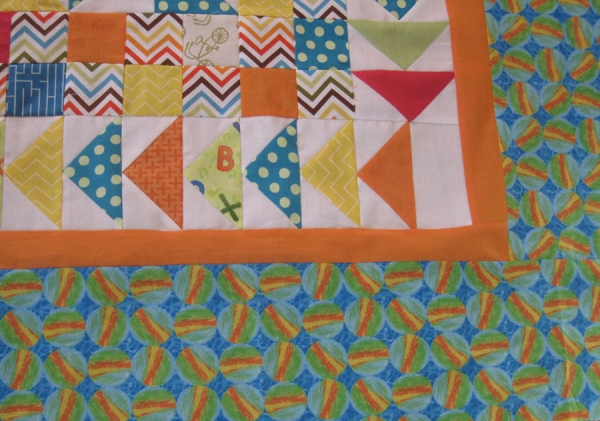
medallion_border-fabricThat fabric is pretty chaotic, too, but I liked that it was darker and gave some weight to the final border. The quilt top is now about 48 x 60 inches.
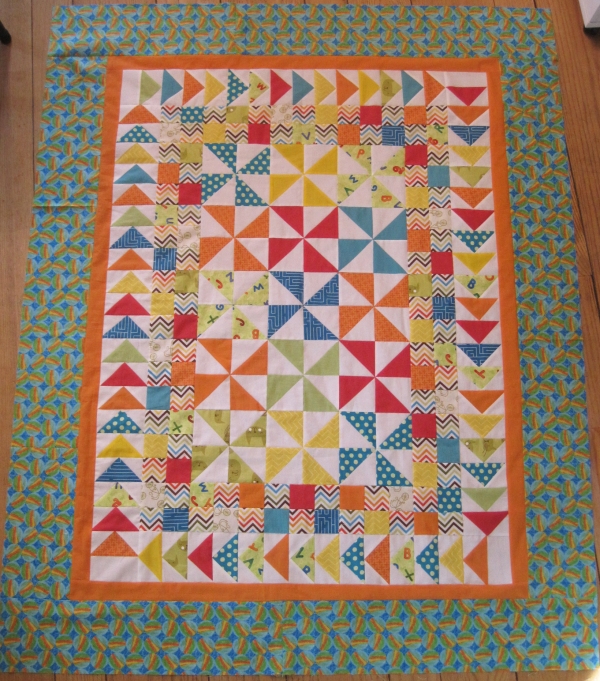
medallion_topI had a ton of that border fabric, so I used it on the back of the quilt as well. That’s where I used up all those extra four-patches, too.
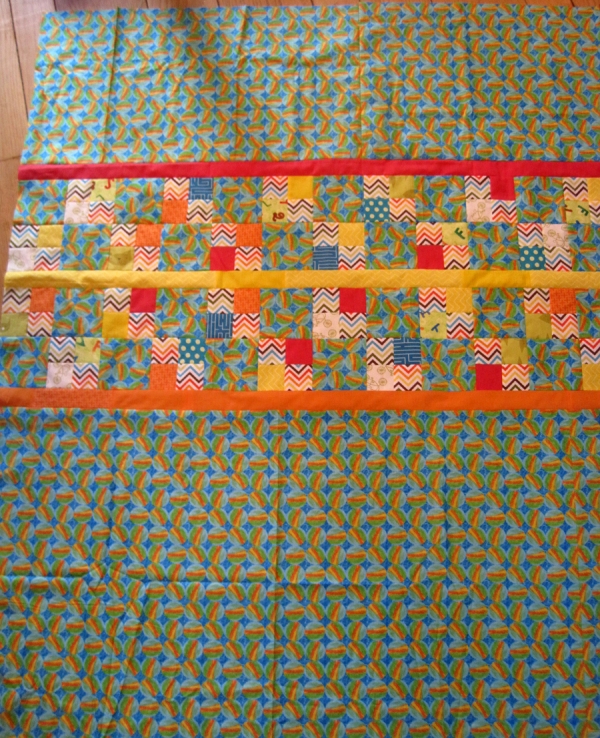
medallion_backNext up is the quilting. My plan is to use straight lines of quilting to help make the center and rounds stand out from each other. I’d love to get this one finished by the end of the year, but we’ll see how that plays out . . .

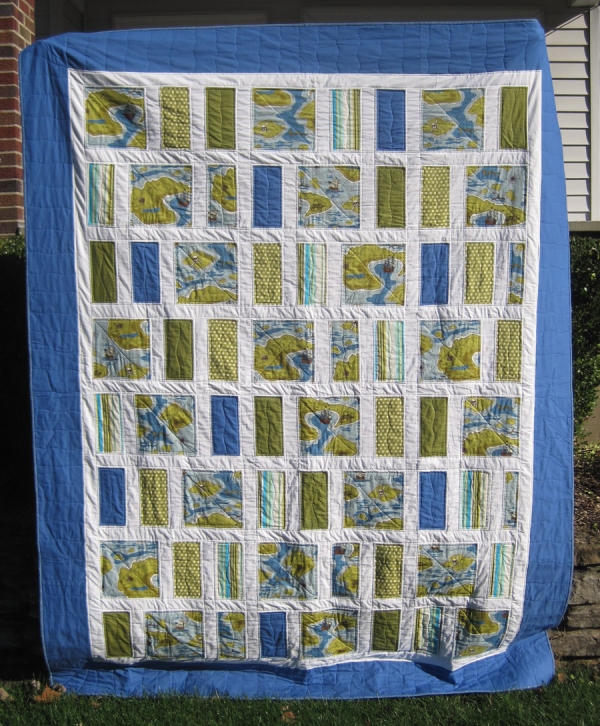
 

Completed Pirate Quilt

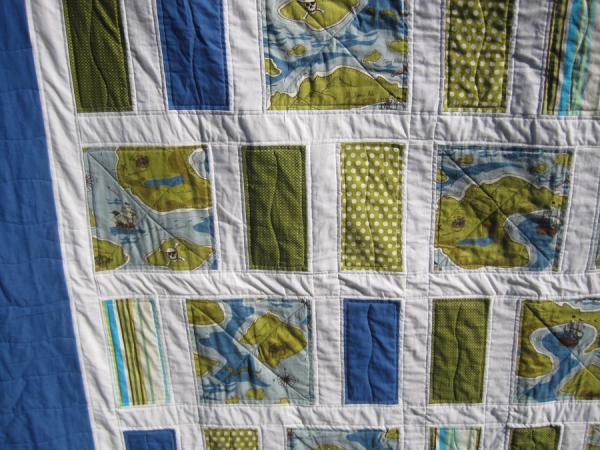
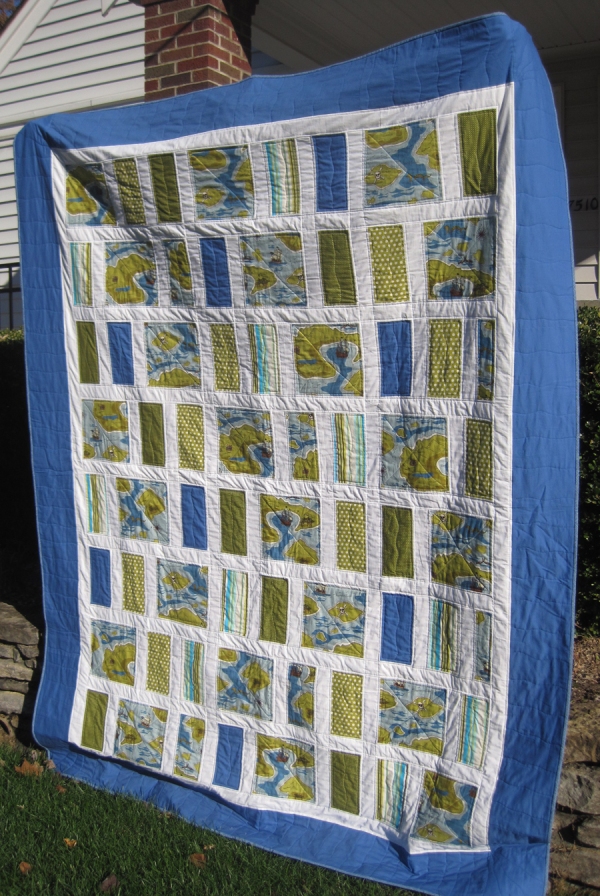
PirateQuilt_FinishedOne more quilt done! This weekend I finished my pirate charity quilt, which the Cincinnati Modern Quilt Guild will donate to the Children’s Home of Northern Kentucky. The quilt is twin size, so it’s big for me (and for my quilt holder, who has requested smaller quilts going forward).

According to my blog records, I’ve had the top of this quilt done since July. I started quilting it in September and finished up in November. Not too bad. The quilting is very simple and definitely not dense, but it should hold the quilt together.

PirateQuilt_Detail

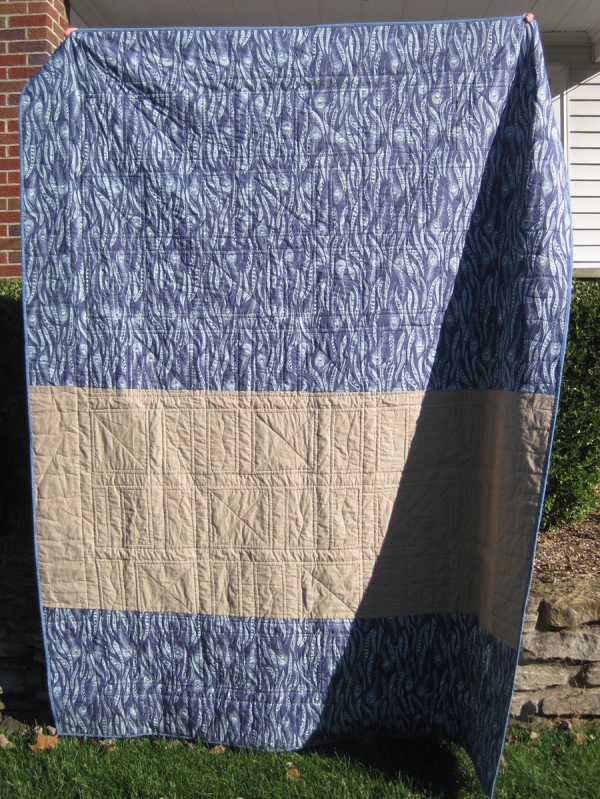
The back is a little more plain, in case the boy who receives it gets tired of the front.

PirateQuilt_Back

Here’s hoping the quilt brings someone a bit of comfort.

PirateQuilt_Finished2

Pirate Quilt Top

pirate quilt 1

When the Cincinnati Modern Quilt Guild selected the Children’s Home of Northern Kentucky (CHNK) as one of our charities this year, the gears in my mind started turning. The home is for boys ages 7 to 17 who have been removed from their homes and are awaiting placement in foster care. When they arrive, they select their bedding, and then they can take that bedding with them when they leave. CHNK asked that the quilts we make be twin size, to fit on their beds.

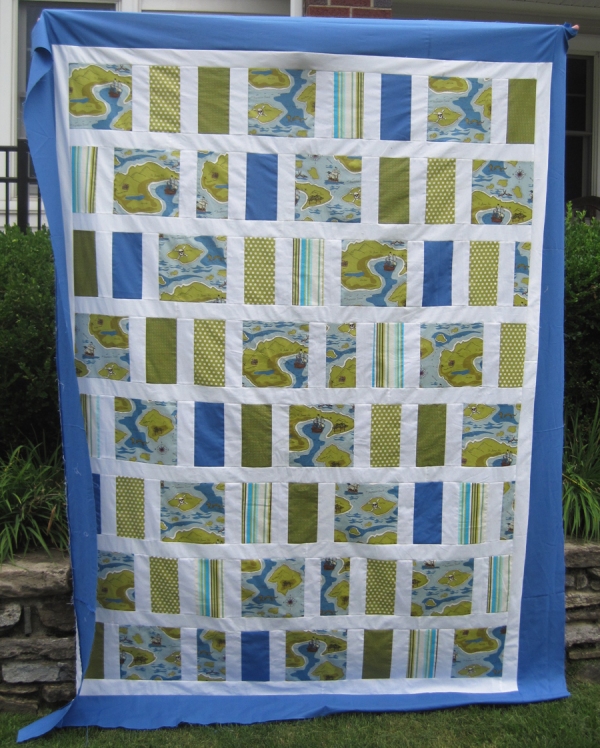
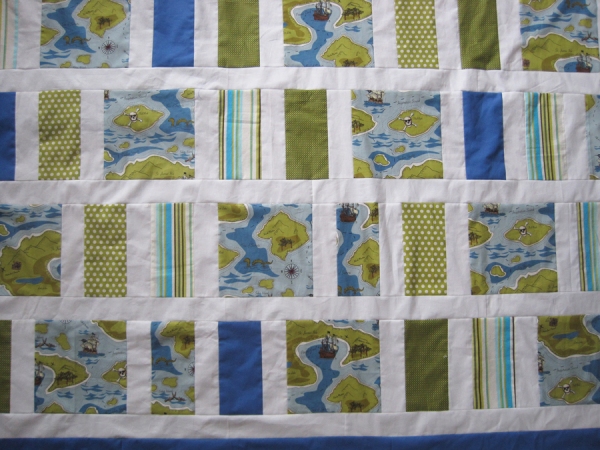
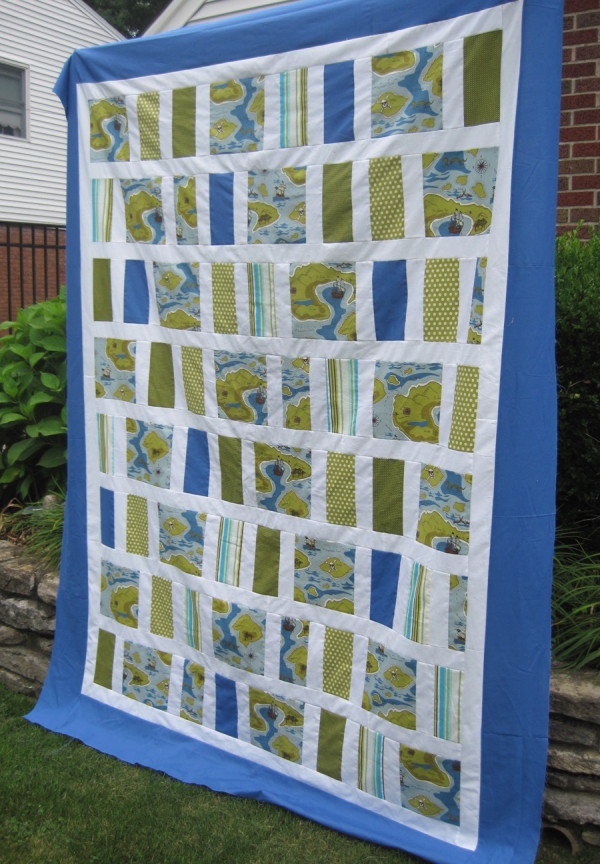
In thinking of a quilt to make, I immediately remembered some pirate fabric I purchased at a Herrschners sale a few years back. The fabric is a pirate map, all in greens and blues. After examining the repeat, I cut the fabric into 8-inch squares, to get a nice variety of sections throughout the quilt. Next, I hit my too-large stash of blues and greens to see what would go with it. I don’t know if I have made a quilt without a polka dot fabric in it, but I don’t usually use stripes, so I was glad to use this one here.

pirate quilt detail

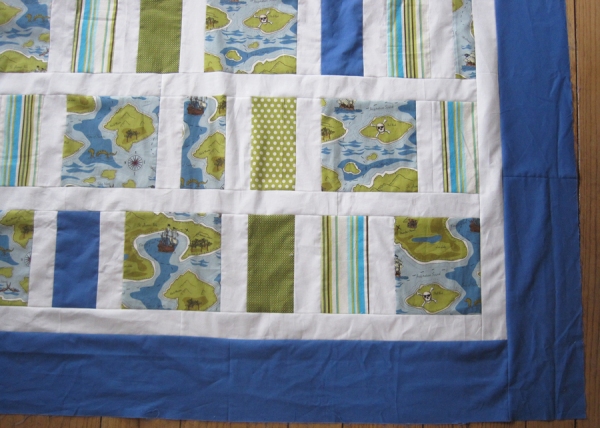
I cut the non-pirate fabrics into 4 x 8-inch pieces and included the solid blue I wanted to use as a border and some more pirate fabric. For the sashing between all the fabric pieces and rows, I cut 2.5-inch strips of Kona Snow.

pirate quilt detail 2

The design of this quilt was inspired by one that I saw that looked a lot more random. For my design, I decided to establish a pattern for the pieces: one 8-inch square followed by two 4-inch rectangles. The second row starts with one 4-inch rectangle, and the third row starts with two 4-inch rectangles. The quilt measures about 70 x 90-inches—pretty huge for me (even my quilt holder was struggling with it).

For the backing, I think I’ll use a blue feather print and a solid tan; when the pirate side gets to be too childish, maybe the feather side will be more to the boy’s liking. Still a lot to do on this one, but I’m liking it so far!


pirate quilt 2

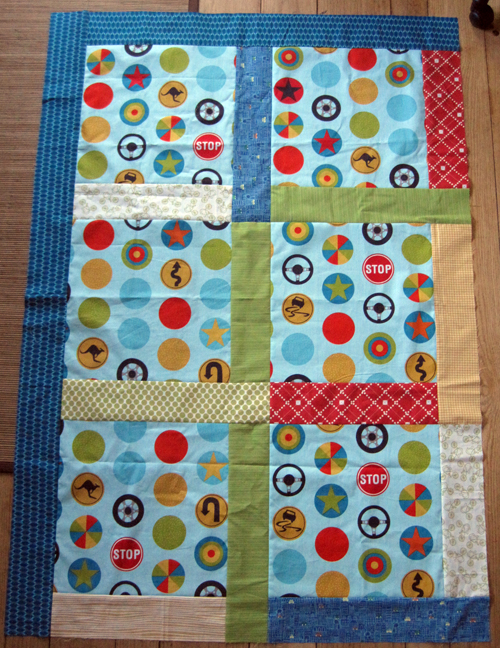
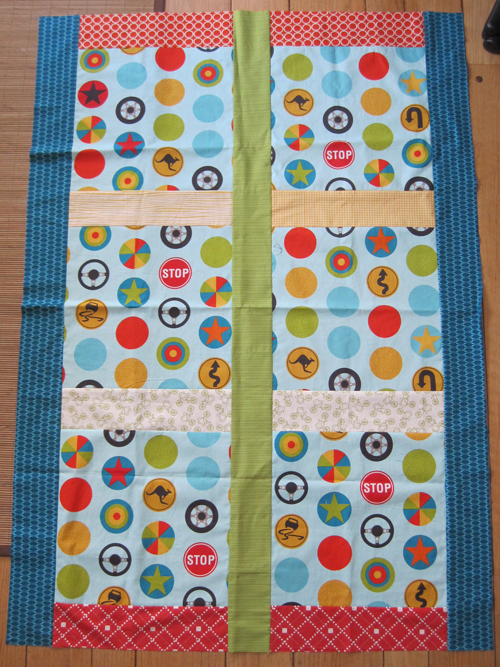
Primary Circles Charity Quilt

Primary Cirlces Quilt

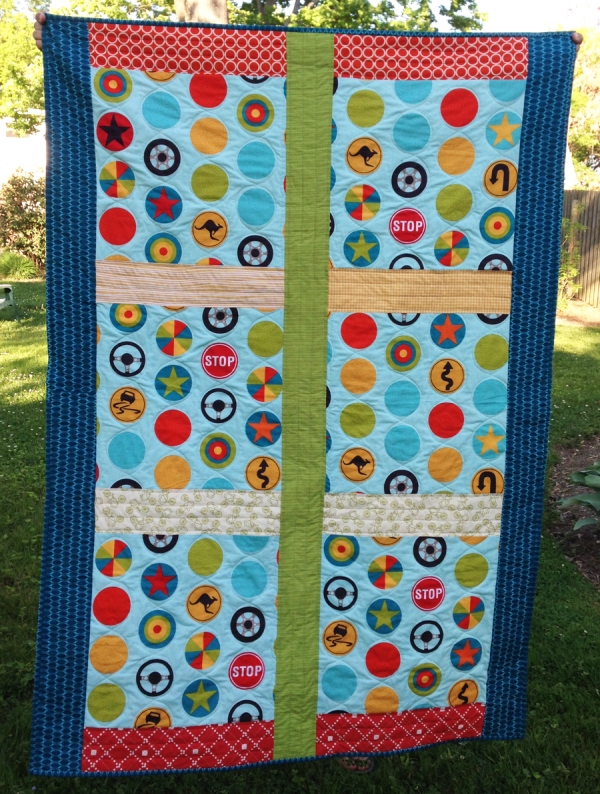
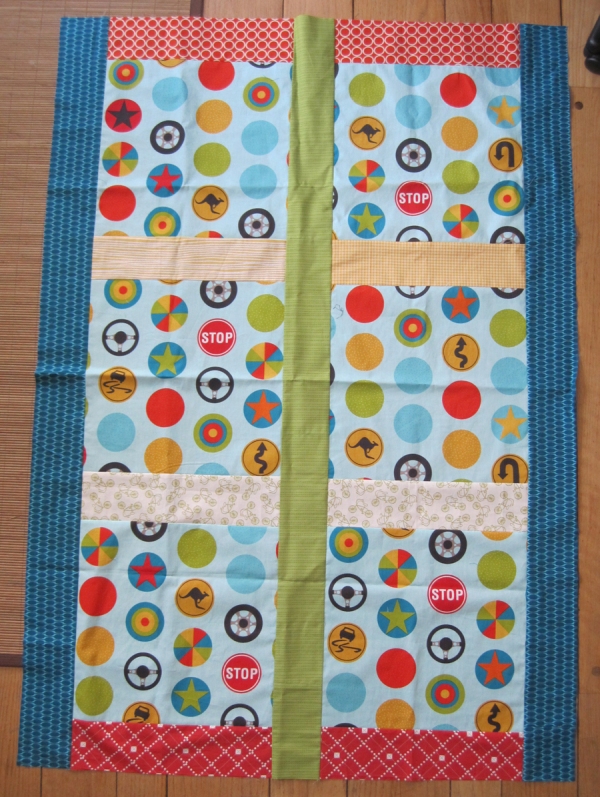
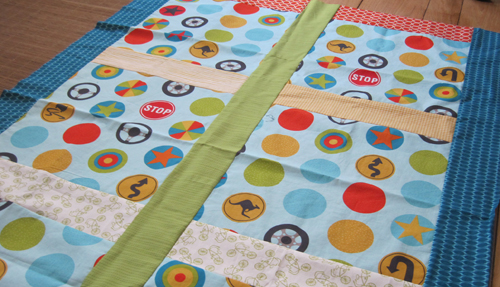
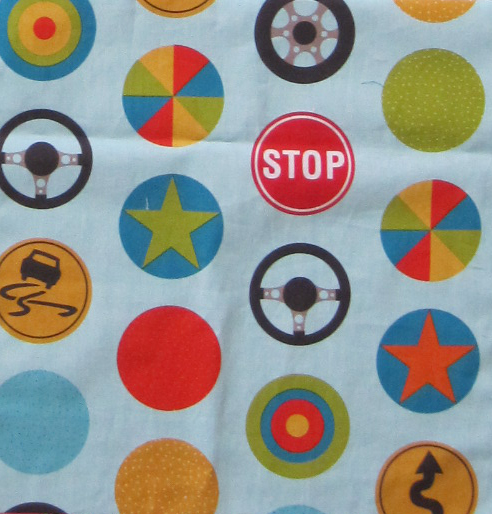
It’s been a while since I donated a quilt to a charity, so I recently made finishing up this one a priority. I started it back in July of last year after I picked up the circle fabric at the Herrschner’s fabric sale last June. I always hear that charities need quilts for boys, so when I saw this fabric for just a few dollars a yard, I couldn’t pass it up.

I had several fabrics that matched the main fabric in my stash, but I didn’t have a whole lot of any one of them. So I played around with what I had and came up with this very simple layout. There’s so much going on with the circle fabric that I didn’t feel it needed much more.

Primary Circle quilt top

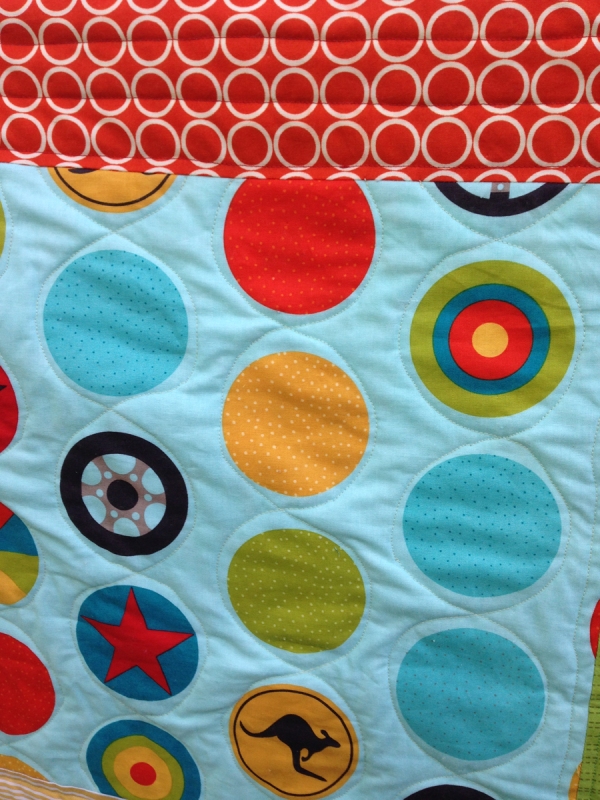
I wanted to practice quilting non-straight lines on this quilt, so I kept my walking foot on and made figure-eights around the circles. I wasn’t trying to make the lines perfect, but man, did they turn out wonky. I probably should have tried full out free-motion quilting, but I chickened out. Next time, I might just have to go for it. I quilted simple straight lines in the strips and borders.

Primary Circles Quilting

As luck would have it, I was getting ready to give a presentation on quilt labels to the Cincinnati Modern Quilt Guild when I was finishing this quilt. So I decided to try a new kind of label that I could show at the presentation.

Primary Circles label

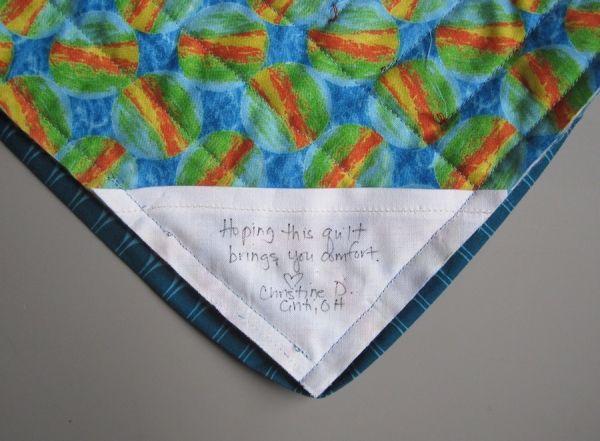
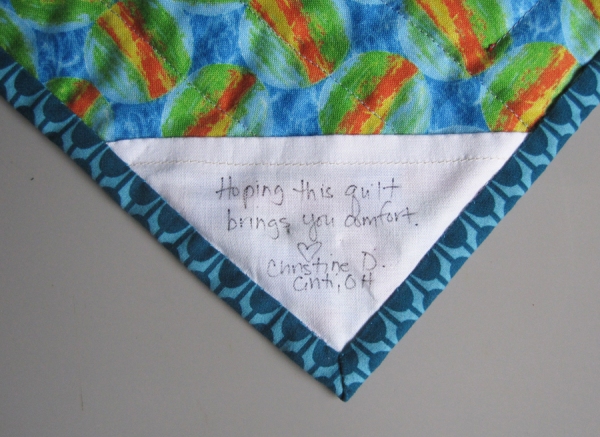
I cut a 4″ x 6″ rectangle and folded over and stitched one long edge. I then pinned the label in the lower right-hand corner and sewed my binding onto the front of the quilt. As I was sewing, I caught the two edges of the label on the back (well, actually, it took a couple of tries to catch the edges and have the label be relatively straight).

Primary Circle label complete

I sewed the back side of my binding as usual, folding it up onto the label in this corner. Since a child will be getting this quilt, I didn’t want to leave the long edge of the label open, so I hand-stitched it down to the backing. I like the way it turned out, and hand-stitching one side is a lot faster than hand-stitching all four!

The backing fabric is some that Mom picked up on clearance. The colors match the front just about perfectly, and I like that the circles kind of look like Teenage Mutant Ninja Turtles.

After I give it a wash, this guy is going to get donated to Project Linus. Hopefully it will find a good home with someone soon.

Green and Yellow String Quilt

Green string option 2

When I wasn’t working on my improv Churn Dash at the sewing retreat earlier this month, I was working on a new string quilt. Yes, another string quilt. I can’t help it—they’re just so fun to make.

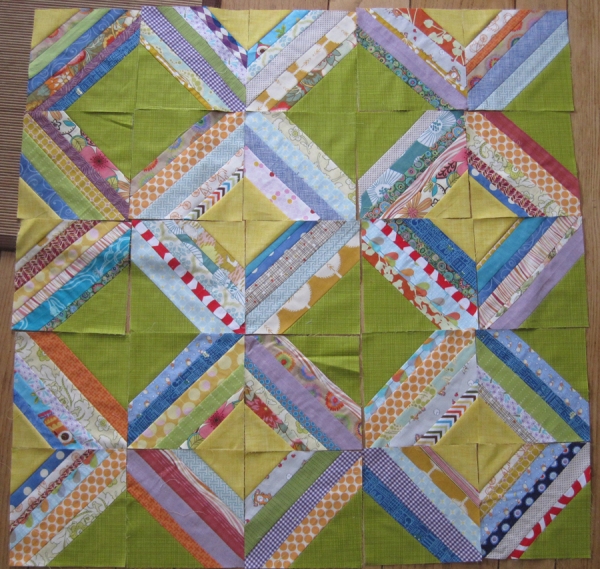
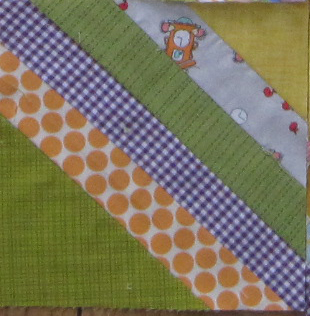
My plan was to use bright and novelty print scraps to make a child’s charity quilt, probably for Project Linus. I decided to start each 8-inch block with a green triangle and end it with a yellow triangle, with the strings in the middle.

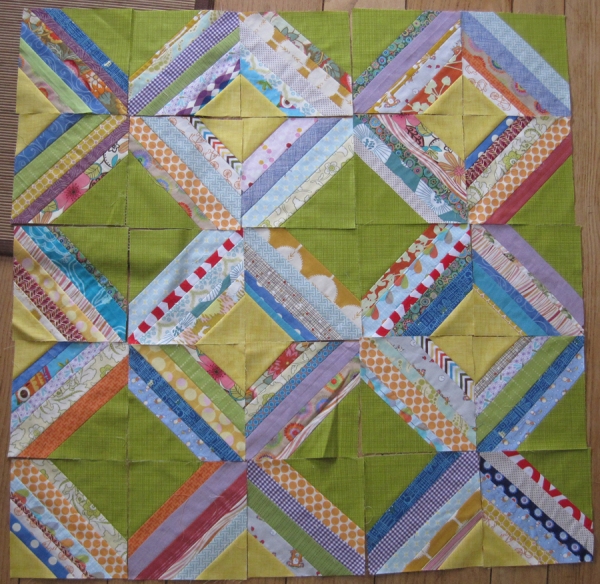
Green string blockI made 25 of the blocks before I ran out of the green fabric. So I started to play around with them to see what my setting options were. And the abundance of options is just one of the things I like about string blocks.

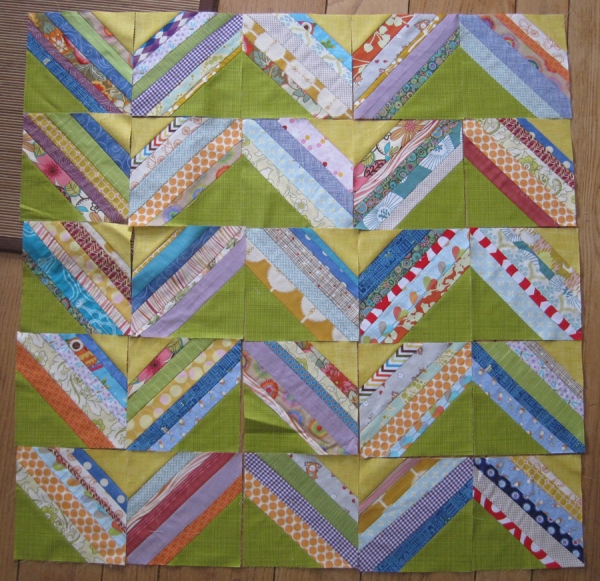
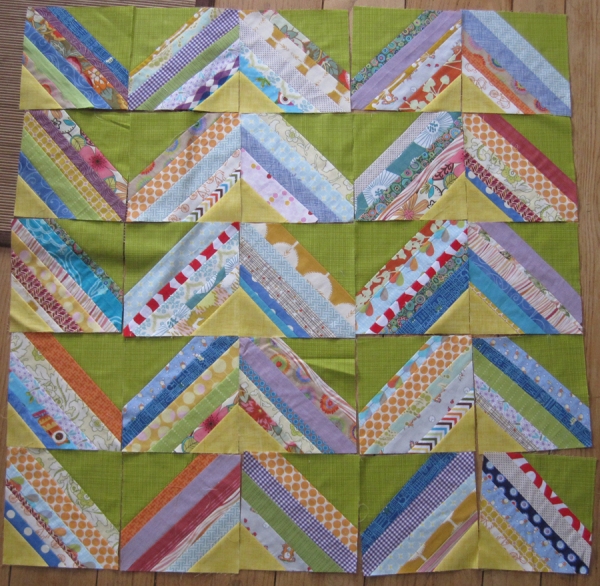
Green string option 1Zigzag strings with the green arrows pointing up.

Green string option 4Zigzag strings with the green arrows pointing down.

Green string option 2Green and yellow squares starting with a yellow in the upper left.

Green string option 3 Green and yellow squares starting with a yellow in the lower left.

I decided I liked the third option best, with the yellow square in the upper left, which left the partial green squares at the bottom of the quilt rather than at the top.

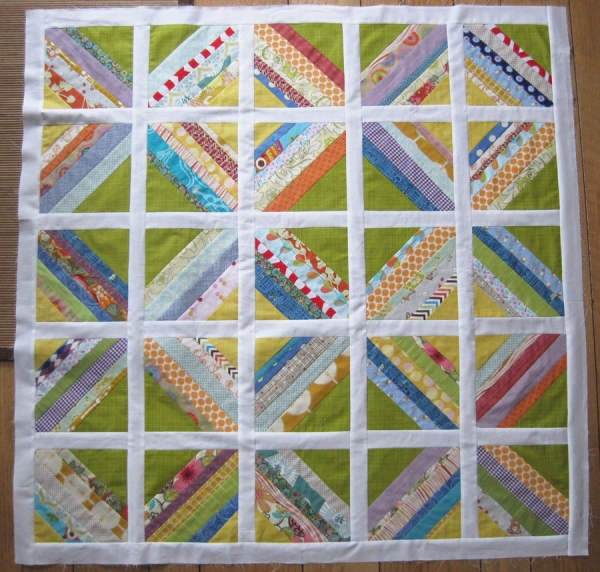
But the blocks together didn’t seem as playful and bright as I had hoped. So I decided to lighten up the whole thing with white sashing.

Green string with white

I cut the sashing strips to 2 inches, so they finished at 1.5 inches. I do think the sashing lightens it up. It also takes away from the neat shapes made by the strings and the triangles, but you still kind of see them. I was thinking that one way to knock back the white just bit would be to quilt over it with colored thread. But, man, my quilting would need to be good to do that!

Right now, the quilt is measuring 46 x 46 inches. If I give it to Project Linus, I will make it a bit wider and longer with borders of some sort. Or I just found out that a benefit is taking place for my friend with colon cancer. So maybe I’ll finish it with a scrappy binding and call it a big, square baby quilt.


CMQG Striped Charity Quilt

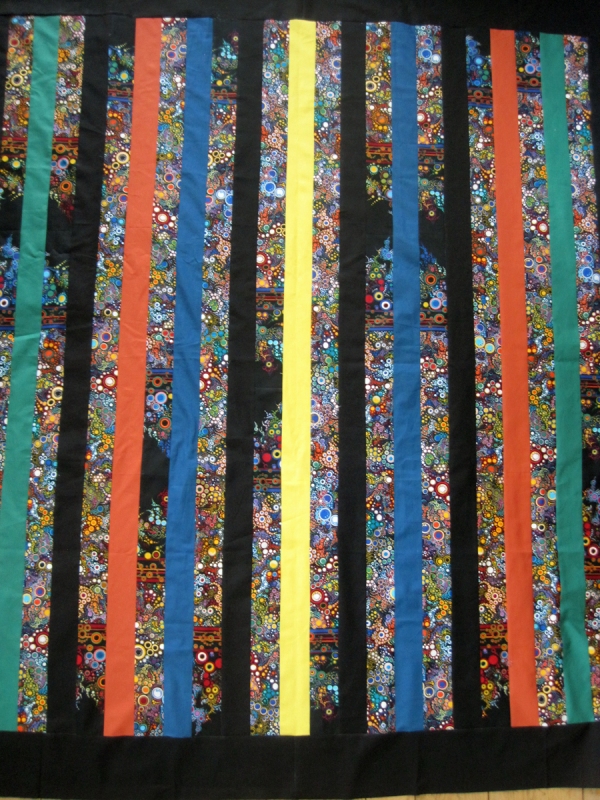
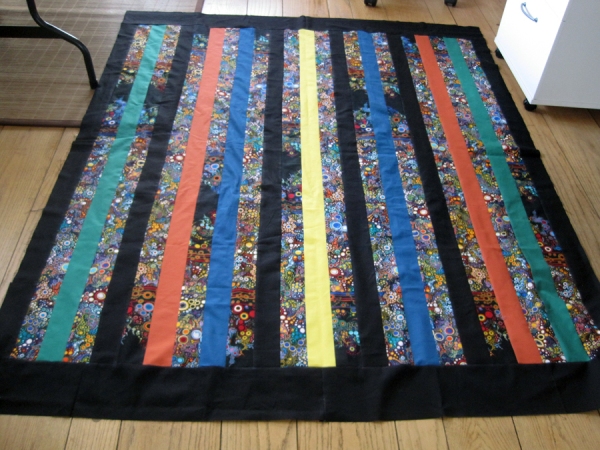
Striped charity quilt 3Let me start by making an excuse. I truly don’t think the camera is capturing this quilt accurately. I took a ton of photos, but none of them make the quilt look as pretty as it does in real life. Really. So just continue reading this post with a slightly richer, more cohesive quilt in your mind.

The Cincinnati Modern Quilt Guide has started a big charity initiative. Every three or four months, we’ll be choosing a new local charity for which we’ll be making as many quilts as we can. We’ll be donating the quilts to organizations that serve veterans, elderly folks, children, and more. To kick off the initiative, guild members donated fabric, and our president asked around to some of the fabric and batting manufacturers for donations. Before she knew it, Robert Kaufman Fabrics sent a huge box of fabrics for us to use.

Striped charity quilt 2

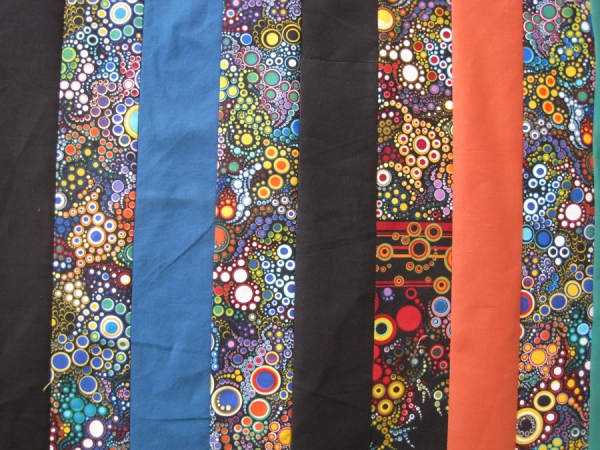
In addition to bright and colorful prints, like those shown above, they also sent a ton of solids, which is a great help when you’re working with fabrics from a variety of sources. I started going through the box of fabrics at a recent sew-in, and I put together this quilt.

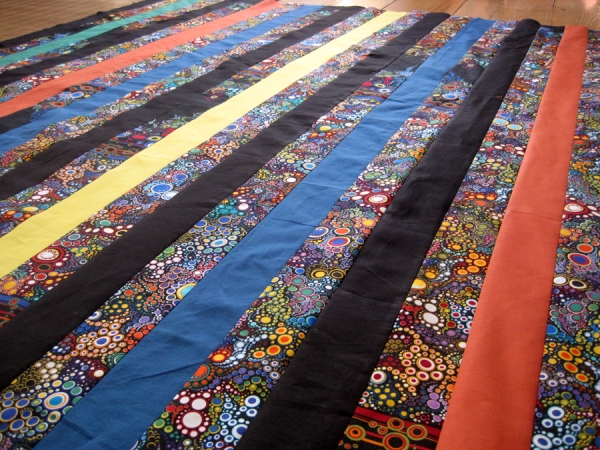
Striped charity quilt 4The concept for the quilt comes from Nancy Zieman’s latest book, Quick Column Quilts. All of the quilts are constructed in columns, which helps them to go together really quickly. This particular quilt is a takeoff of her Quilt to Give, which alternates columns of scraps with columns of solids. For my quilt, I used the bubbly print from Robert Kaufman instead of scraps. All the strips were cut to 3 inches wide.

With just the strips, the quilt top came in at 60 x 64 inches. It looked a bit too square for my taste, so I added 5.5-inch black borders on the top and bottom to lengthen it out a bit.

Striped charity quilt 5

To finish this quilt, we’ll definitely need to get some black batting. The black fabric has a slightly loose weave, and I’d hate for a natural-colored batting to beard and become unsightly. I’ll probably hand it off to another guild member to quilt, but I think an allover design with curves would be nice.

For those keen-eyed readers, I know I messed up the column order. I can’t even remember what order I intended. I discovered it once the whole top was together, and I decided to leave it as is. It took me a while to spot it, so maybe the recipient won’t even notice.

This One Was Supposed To Be Easy

Primary quilt top 3

For several weeks now, I’ve been struggling with a quilt that just ended up being really hard. It took a good bit of thought to begin with, and then it didn’t turn out quite the way I had wanted. (It’s a gift, so I’m holding off on showing it here.) Anyway, after that, I wanted to work on an easy, mindless quilt.

So I took out the Riley Blake fabric I had gotten at the Herrschners sale. There is enough going on in the fabric that I decided to let it do the work.

Riley Blake fabric

I pulled some primary-colored fabrics from my stash, along with a bit of green. Within minutes, I decided to cut the main fabric into 16″ squares (because it was going to do the work) and then sash those squares with my stash fabric. Easy! I got the whole top planned, cut, and pieced in a couple of hours.

Primary Quilt top first

So, who can tell where this is going? Yep . . . I didn’t like it. I didn’t like that I had sashed only two sides of each square, but that’s all the stash fabric I had. I tried to remedy that by adding the turquoise fabric to the two sides that didn’t have sashing on the squares. But I didn’t like that, and I didn’t want it on all four sides, either. And I didn’t like that the blue and turquoise fabrics were so similar.
The “easy” quilt top turned out to be one that I took apart. After ripping the seams and pressing the fabric, I went a lot more straightforward on my second attempt. I kept like colors together. I just did easy.

Primary quilt top 1

It’s very simple, I know. But I think it will be a nice charity quilt for a baby or preschool boy. It’s certainly bright and fun. I’m thinking about quilting it in an all-over pattern of stars. Of course, I’ll need to learn how to quilt stars. But that should be easy.


Finished Pinwheel Challenge Quilt

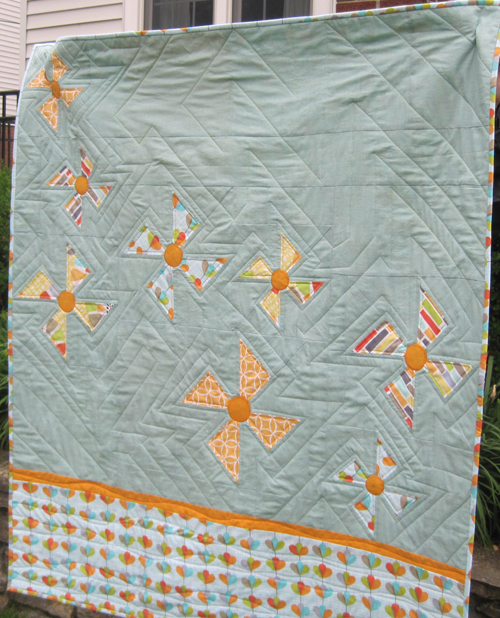
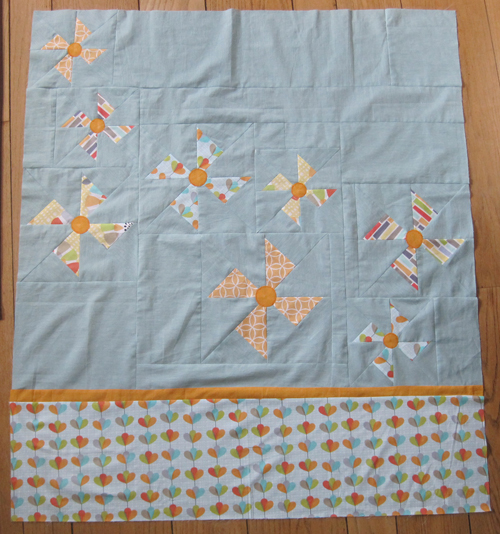
Pinwheel Challenge Quilt sideHere it is—my finished Pinwheel Challenge Quilt! As I mentioned in my first post on this quilt, I received the fabrics as part of the Michael Miller Fabric Challenge through the Modern Quilt Guild. All the pinwheels were made with the challenge fabric, and I added the solids and a bit more of one of the challenge fabrics.

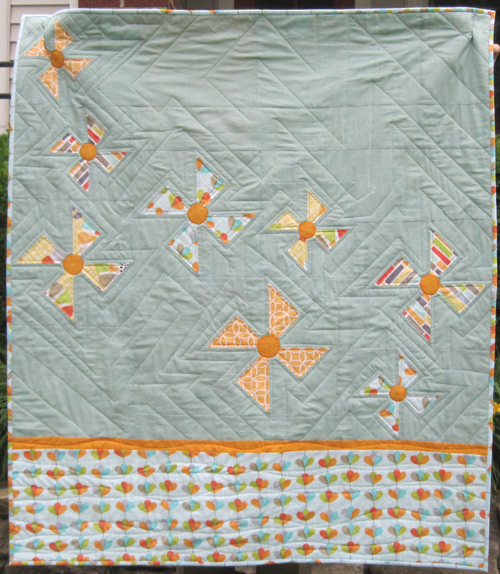
Pinwheel Challenge quilt final

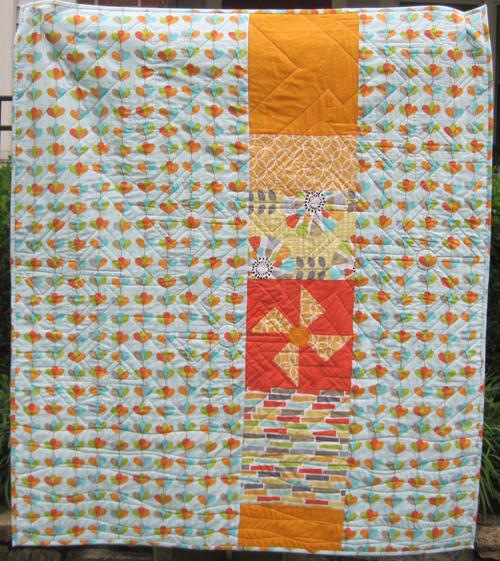
For the quilting, I just echoed around the pinwheel shapes, which got a little wacky as I got further out and the pinwheel echoes collided. I probably should have drawn more of these echo lines to ensure they were straight. But I just went for it, so some of them are more than a bit off. For the orange strip and bottom fabric, I just quilted intersecting wavy lines. I hoped maybe this would conceal the crookedness of the bottom fabric a bit.

Pinwheel Challenge quilt backHere’s the back of the quilt. I like that you can see the quilting of the pinwheels (although from this distance, you can’t see the closed part of the pinwheel and can only see the outline, which looks a bit like an unfortunate symbol—let’s ignore that).

After I bring this quilt to the Cincinnati Modern Quilt Guild meeting tonight and I get a label put on, it will be off to Project Linus. I hope it brings someone a bit of joy.

Pinwheel Challenge Quilt

MM Pinwheel quilt detail 2I’m participating in my first fabric challenge! The challenge is through the national Modern Quilt Guild and is sponsored by Michael Miller fabrics. Each participant received the same six fat eighths of the Michael Miller Petal Pinwheels line; the challenge is just to make something quilted from that fabric, adding only solids or other Michael Miller fabric. As an additional challenge, the Cincinnati Modern Quilt Guild is encouraging our members to make their quilted item a quilt for Project Linus.

The fabric colors are right up my alley, so I was excited to get started. I had wanted to make a boy quilt from the fabrics, but they were just too girly. I feel kind of like a dork for making pinwheels from a fabric with Pinwheel in the title, but it just seemed to make sense.

MM Pinwheel quilt detail

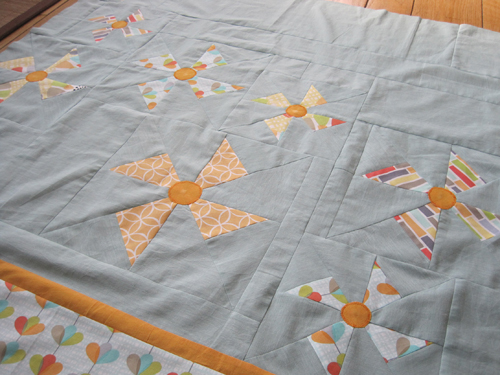
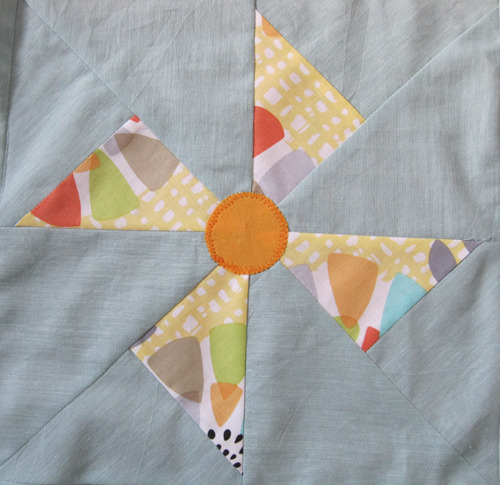
I’d used this same pinwheel pattern for another quilt, but this time, in addition to making the original pattern (from Modern Blocks by Susanne Woods), I adjusted the pattern to make one pinwheel larger than the original and several that were smaller than the original.

MM Pinwheel quilt topI tried something different for the setting and kind of made the pinwheels float on the blue background. I placed the pinwheel blocks where I wanted them to be and then added the blue fabric to connect the pinwheels and fill in the background. I didn’t have quite enough blue fabric for the whole background, so I bought some of one challenge fabric and put it on the bottom along with a strip of orange (the same orange I used on all the pinwheel centers).

I swear I didn’t cut the bottom fabric that crooked—and I noticed it too late in the process to want to change it. Could it be possible the fabric was printed crooked? Rats, nonetheless.

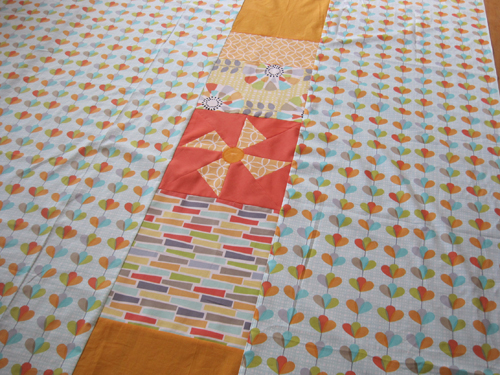
MM Pinwheel quilt backFor the back of the quilt, I used more of the yardage I had purchased. But I also added a section of leftover challenge fabric pieces (including one more pinwheel for kicks).

I’ve already finished the quilting on this one, thanks to a sew-in day for the Cincinnati Modern Quilt Guild. I’ll show photos of that once I get the binding finished up.

Boy’s Column Quilt Top

Boy Column Quilt top

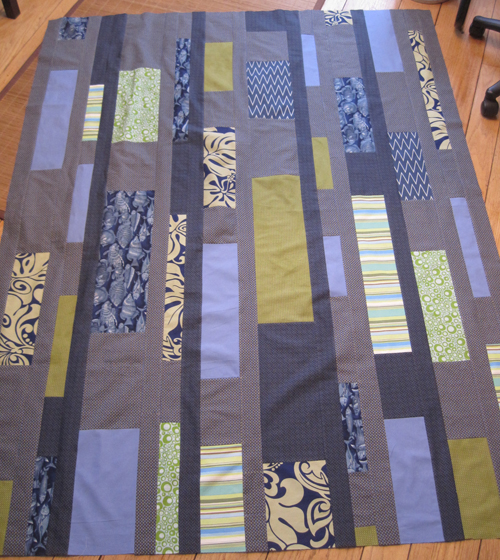
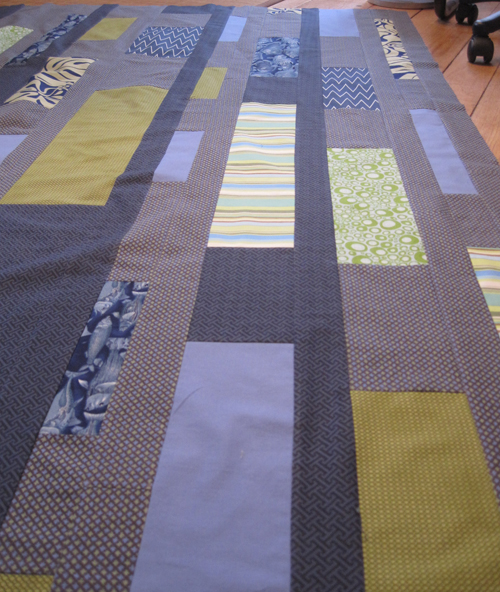
This past weekend I finished up the top for my first charity quilt of 2014. Project Linus is always looking for quilts for boys, and I made this one hoping that it would appeal to an older boy.

Like my last quilt for Project Linus, this one, too, was sewn in columns or strips. As Nancy Zieman pointed out in her original blog posts about column charity quilts (and in her upcoming book, Quick Column Quilts, which I happen to be editing), column designs are perfect for charity quilts because they sew up so quickly.

Boy Column Quilt columns

Look at all those long straight lines! So once you get your pieces cut, you can just sew and sew and sew.

Most of the fabrics in the quilt top came from my stash. My stash space is finite, and the blues and greens no longer fit in their designated space. So I pulled the blues and greens I thought might appeal to a boy and added them to the mix.

Boy Column Quilt fabrics

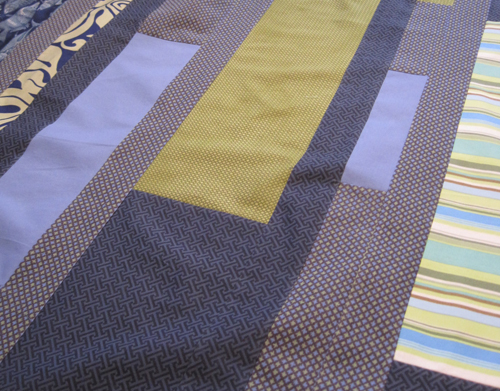
I had a lot of the blue/green/gray print shown above and thought this was the perfect opportunity to use it up. Of course, I didn’t bother to figure out if I actually had enough of it for my quilt plan. It seemed like I had so much, I didn’t even worry about it. But then, of course, I ran out. So I went to Lavender Street and chose the darker navy and black fabric, shown above, to finish up the quilt.

Boy Column Quilt top

I think the dark navy fabric really gives the quilt a nice pop of color and keeps it from being too dull. And Greg said he thinks it makes it more masculine, too. Well, I guess that wasn’t the incentive I needed to make sure I have enough fabric before I start my next project.

The quilt top is 58 inches wide by 76 inches long. It’s a pretty big one, but I’m going to try quilting it at home with straight stitching.

As a bit of an aside, I used the same blue fish fabric in both this quilt and the previous Project Linus quilt I made for a boy. I was telling my mom about this quilt and happened to mention that fabric. As it turns out, she just finished a boy quilt for Project Linus that also contained blue fish fabric. So if boys don’t actually like blue fish fabric, someone should really let us know.