 The modern quilt world is gearing up for the first ever QuiltCon presented by The Modern Quilt Guild. It’s being held in Austin, Texas, February 21-24. And while I’m not going, several members of the Cincinnati Modern Quilt Guild will be there, including Heather Jones, CMQG founder, who will be lecturing on Everyday Inspiration in Modern Quilts.
Besides on all the usual classes and lectures going on, there will be lots of getting-to-know-you types of events, too. One of those is a pincushion swap, where members of one modern quilt guild make pincushions to swap with another guild. Teresa, a CMQG member going to the conference, is heading up the effort for the Cincinnati MQG. The great thing about this swap is it’s open to all MQG members, whether they’re attending the conference or not. It sounded like fun to me!
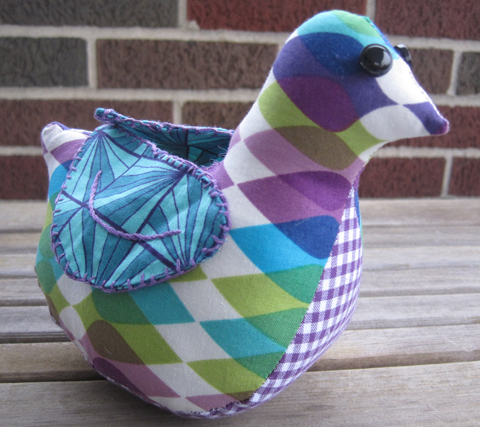
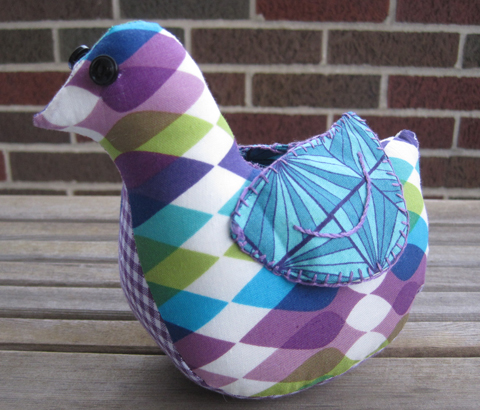
After a bit of thought, I decided to make a cute little bird pincushion from a pattern in Joel Dewberry’s Sewn Spaces book. I’d been wanting to make one ever since the book came out, and now was the perfect opportunity.
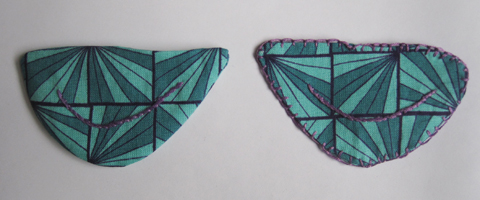
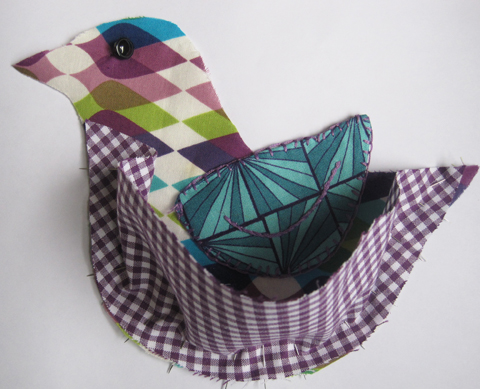
The pattern has you start with the wings. First you cut out the wing pieces, embroider the feather swoop on the two outside pieces, and then sew the inside and outside wing pieces together. A blanket stitch around the wing finishes them off (and closes up the opening where you turned the wings right-side out).
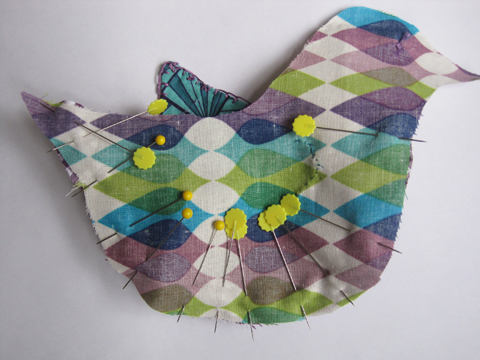
Next, I moved on to the body. I sewed the wings to each body piece, and sewed the eyes in place (although I ended up moving these once the guy was put together—they didn’t line up at all). Once that was done, it was time to pin the breast piece to the bodies. I think it’s always a little tricky to pin pieces that are dimensional, but the key is just to use a lot of pins.
After that, I sewed on the second body piece, leaving a hole to turn and stuff. I’m always amazed by how much stuffing, in this case fiberfill, needs to go into something this small. It seemed like I was stuffing forever. But I did want him to be nice and firm. I started with little pieces of fiberfill for the beak, shaping each piece a bit before inserting it in place. Then I moved onto a head-size piece and lots and lots of neck pieces. I used smaller pieces for the tail, and then stuffed the body.
Closing him up was a bit of chore because he was stuffed so full. And after looking at some of these pictures, I apparently need to go and remove some random fibers from the opening before he goes to his new home.
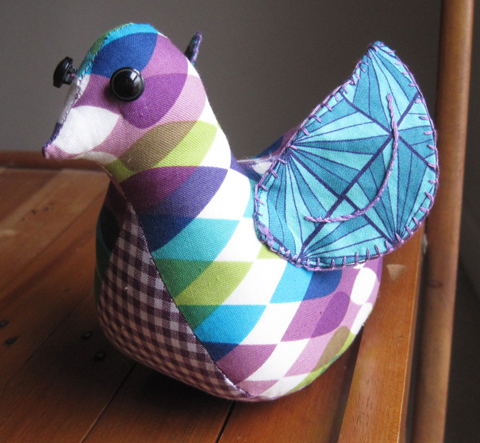 Fly away, little bird friend! I hope you’ll get to liven up someone’s sewing room!
For those of you who don’t have access to Joel Dewberry’s Sewn Spaces, I did find the pattern for this bird online at The DIY Dish. Have fun making one of your own!


Danielle
/ February 13, 2013Love it! I so didn’t get around to making one. See you tonight!
Christine Doyle
/ February 13, 2013Thanks, Danielle!
Julie Wallace
/ February 13, 2013It is so darn cute. Great job!
Christine Doyle
/ February 13, 2013Thanks, Julie! He was pretty fun to make.
Rose Horvath Doyle
/ February 13, 2013She/he is a cute birdie, it sits real nice.
Christine Doyle
/ February 13, 2013Thanks, Mom! He sometimes gets a little top-heavy and falls forward. But then I just need to give him a push on his butt, and he’s back up again.
Teresa Seitz
/ February 13, 2013You did a great job with this pincushion. I am amazed at how densely it is stuffed. I’m sure the person who gets this in the swap will love it.
Christine Doyle
/ February 14, 2013Thanks, Teresa! And thank you for organizing the swap! Have a great time in Austin.